Build and Deploy your Hugo Pages on Azure in 2020

0x00 Description
Some time ago, I found Jendrik Illner’s personal website. In addition to the great articles there, the theme of the website attracted my attention. And I found that the website is powered by the Academic theme for Hugo. Then I think it’s time to build a great looking personal website for myself now. I am a newcomer to Azure, so this article is only a record of the process of building my personal website on azure and the issues I encountered. I hope to help people with the same needs.
0x01 Get Hugo and the Academic theme to local
Before we can host static pages on the cloud, it’s better to run them locally. First, let’s get hugo to local. I use macOS to run hugo. So using homebrew to install hugo would be very convenient.
brew install hugo
Once hugo installation is complete, you can use the hugo command in the terminal. For example, you can use hugo version to print out the version of hugo installed.
And it’s very simple to create a hugo site, just execute the hugo new site command.
hugo new site hugoInit
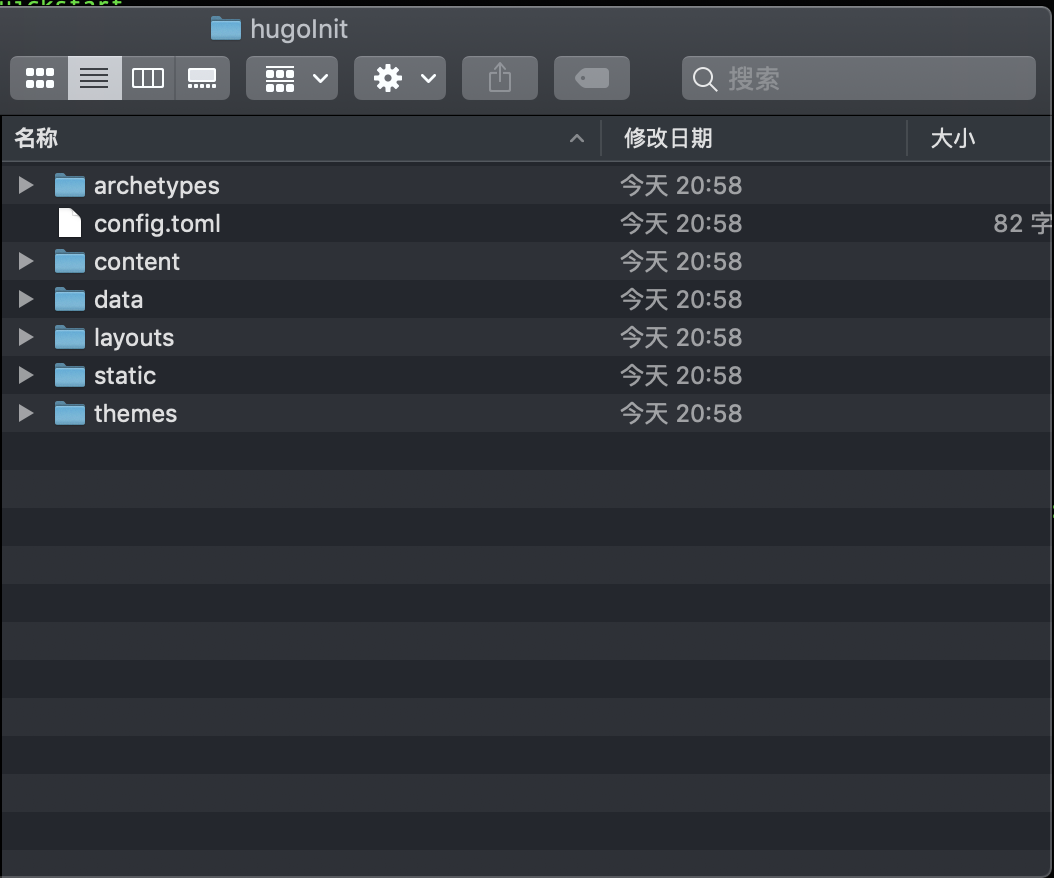
A folder named hugoInit will be created and contain site files.
Then we can come to the new folder just created and add a new page to this site and run it locally. But before adding a page we can download a hugo theme.
git init
git submodule add https://github.com/budparr/gohugo-theme-ananke.git themes/ananke
echo 'theme = "ananke"' >> config.toml
Now let’s try to run the site locally.
hugo serve
And we get an ananke theme site available at http://localhost:1313/.

As for adding a new page to our site, just execute the following command.
hugo new posts/page.md
By default, the hugo serve command will run your site without those draft posts. If you want to show them on your site, just pass the -D parameter to the command.
You can find more information at the Hugo Homepage.
Next we’ll introduce the Academic theme. To be honest, I think this theme is what I’m looking for. Modular architecture, easy to combine various widgets, friendly support for markdown, and its theme is brief.
Its code is hosted on github, so we need to download the project from github:
git clone https://github.com/sourcethemes/academic-kickstart.git My_Website
Then initialize the theme:
cd My_Website
git submodule update --init --recursive
After initializing the theme project, we get the Academic theme to local. Because i t’s a theme for Hugo, so we can run it as above.
hugo serve
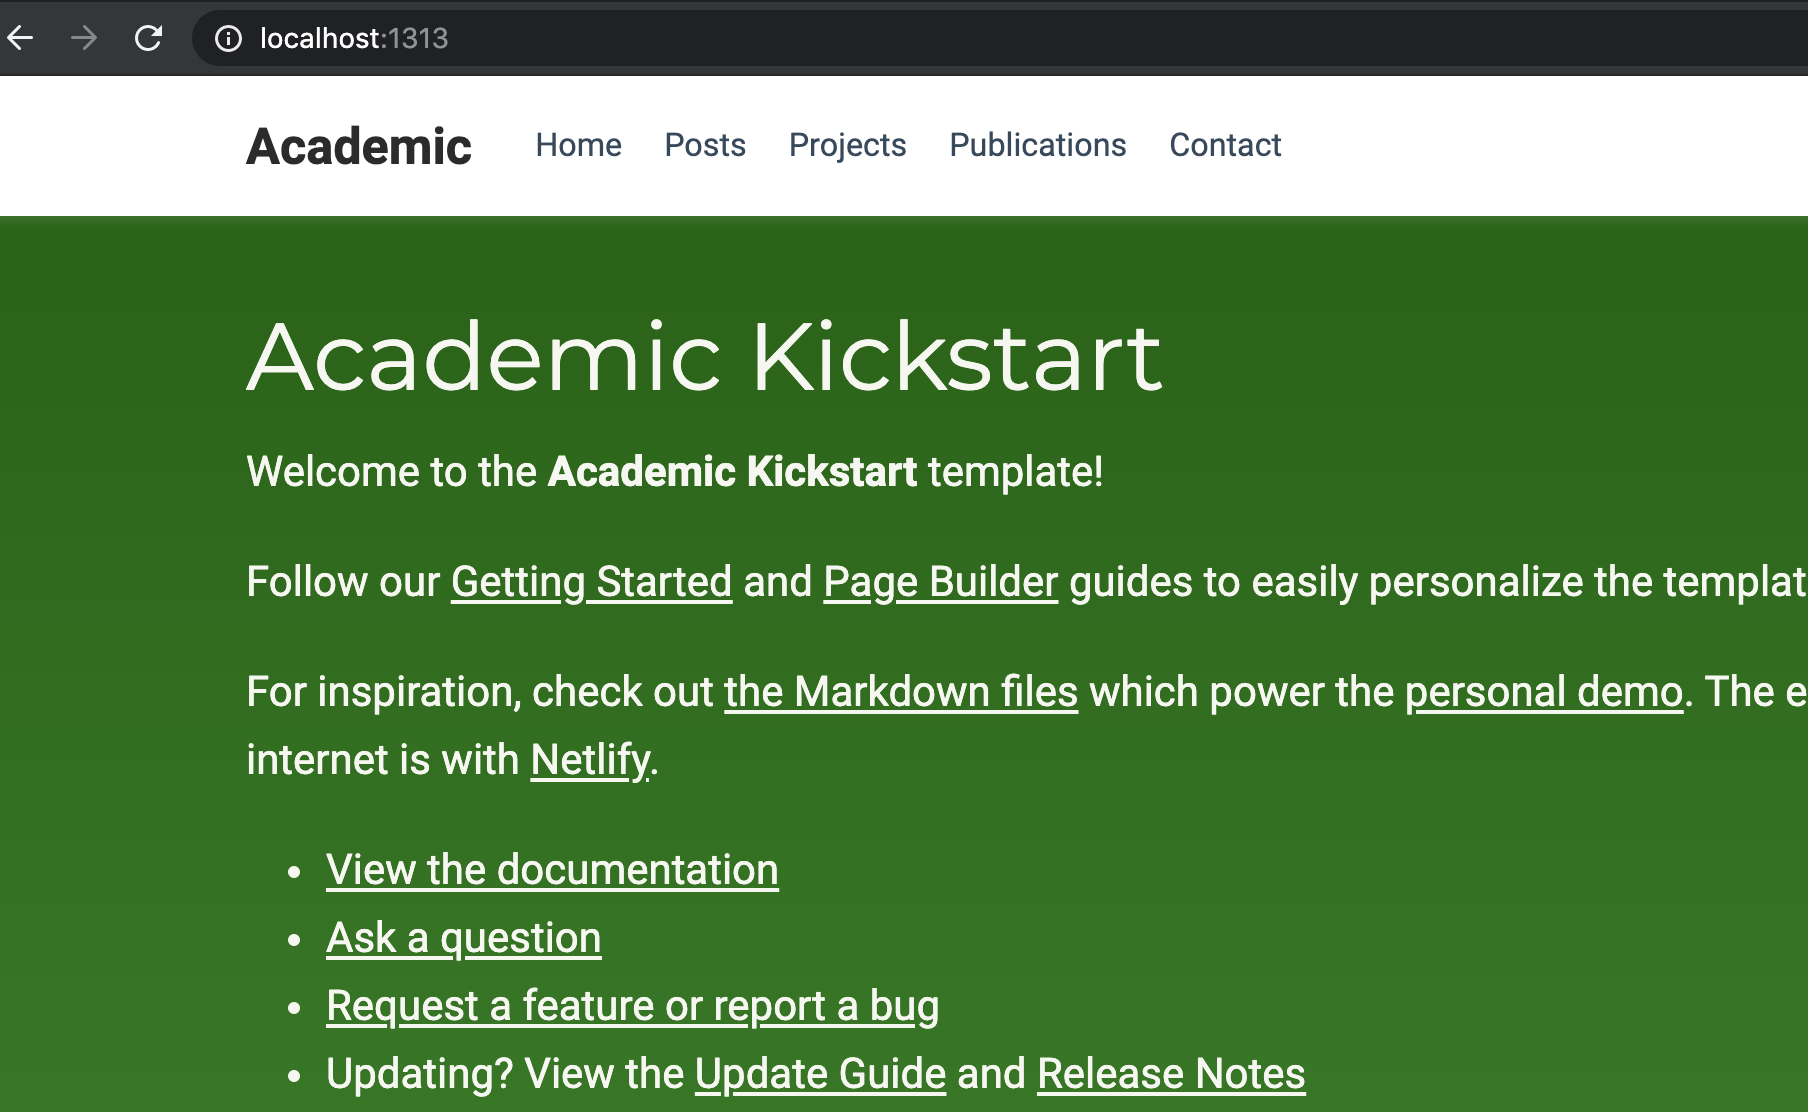
And we get the Academic theme site available at http://localhost:1313/.
Now, let’s modify the project to build our own site. Open this project with VS Code, and there are two folders worth our attention. They are the config folder and the content folder.
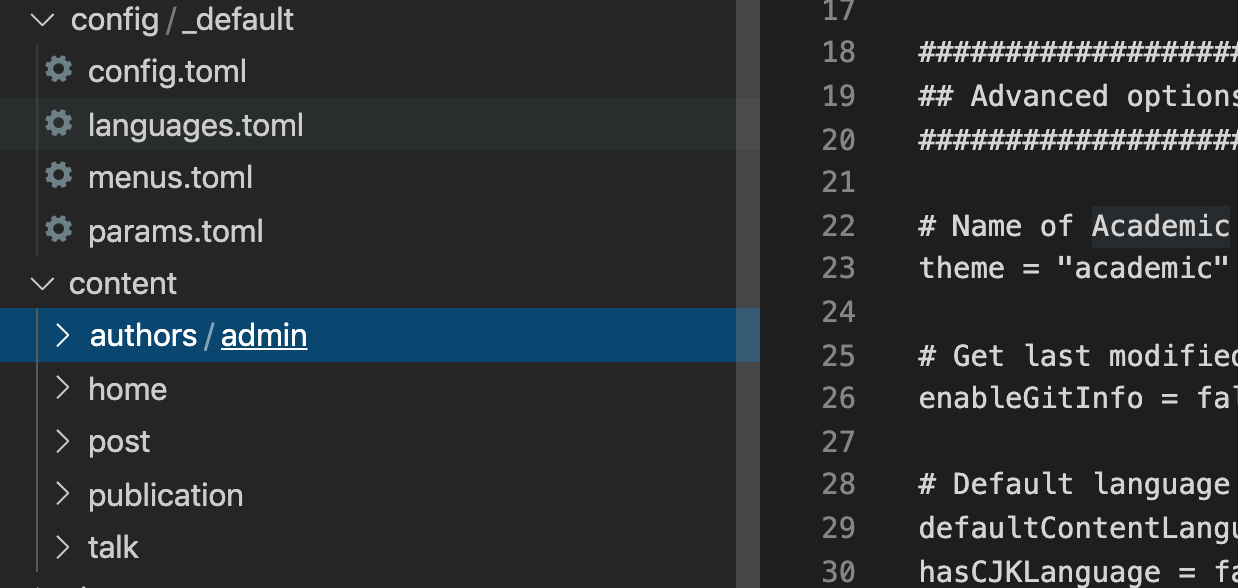
In the config folder, you can find the config.toml file which is the configuration of Academic and is formatted using TOML syntax. For example, you can modify the title of your site from the default value Academic to whatever you like. Another useful file is the params.toml file. You can choose a theme, choose a font size and whether to enable users to switch between day and night mode, etc.
As for the content folder, as its name suggests, this folder holds the contents of your website. For example, you can modify the _index.md file in the author folder to show your information. You can add/remove widgets of your web site by modifying files in the home folder. If you don’t want the projects widget be shown, you can change the active value in the projects.md file to false. And you can find the post folder, yes, all your posts are in this folder.
0x02 Deploy your Hugo Pages to Azure
After modifying the content of your web site, it’s time to show the web site to real world.
I deploy my website to Azure from VS Code. But first you need an Azure subscription and the VS Code of course.
Then we need to install the azure storage extension, you can find it in the VS Code Extension marketplace.
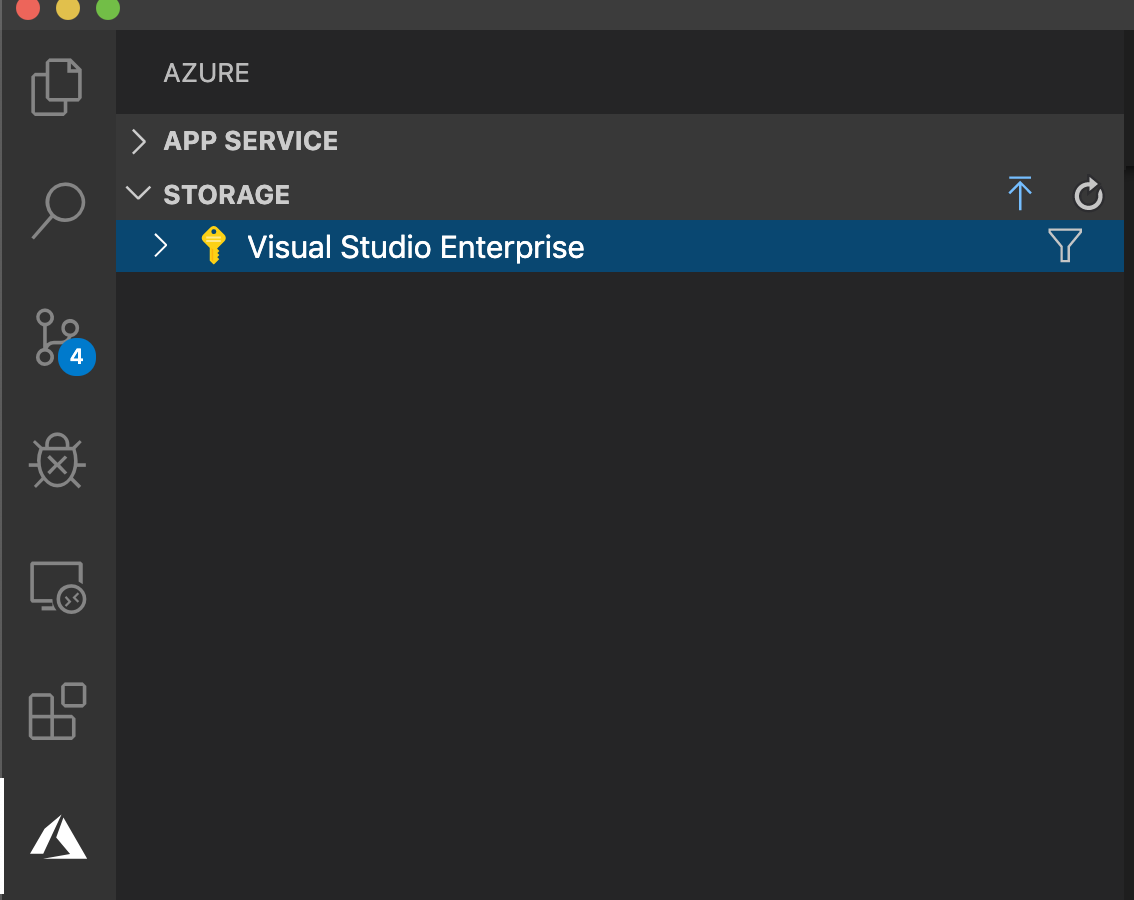
STORAGE item.
Now we need to create a storage account to host our web site. You just right-click on your subscription and choose Create Storage Account. Once the Storage account is complete, right-click that account and select Configure Static Website.
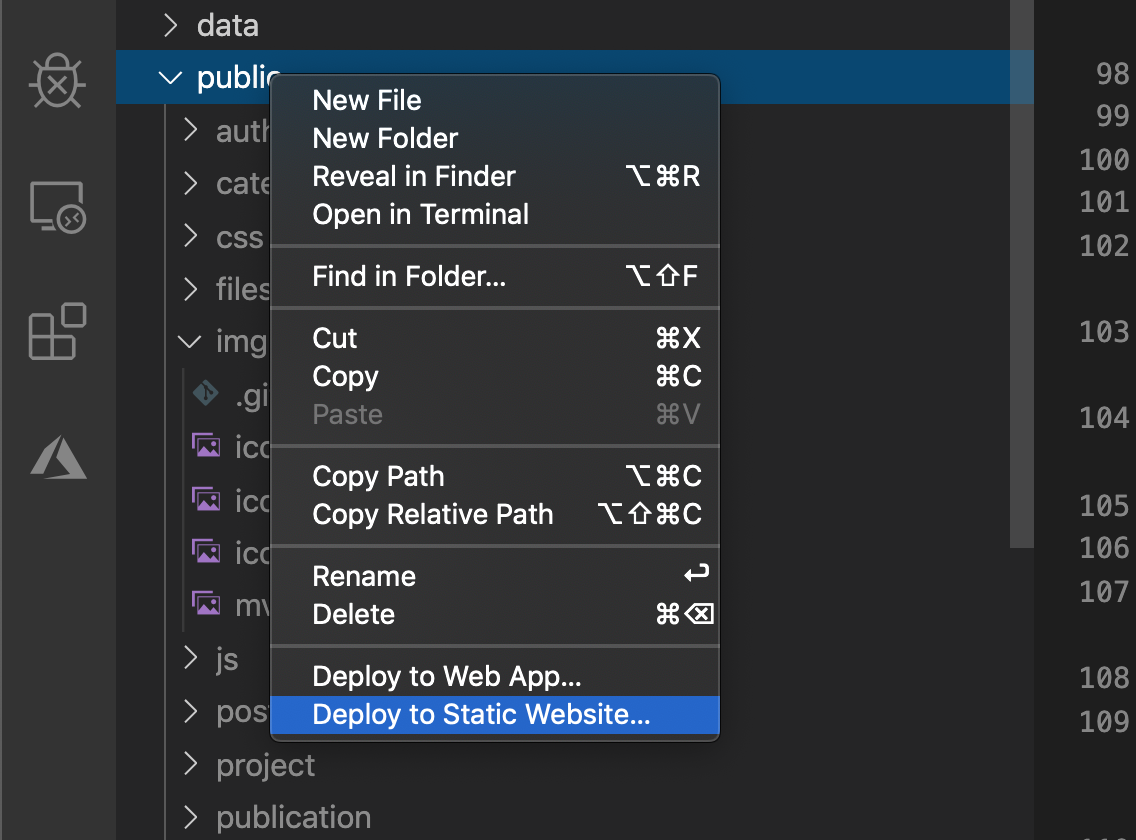
After creating the azure storage account, we need to deploy the web site files to the storage account. Select the Files explorer in VS Code, and you will find a folder called public which is the real web site files generated from the project. Then right-click on the folder and select Deploy to Static Website.
After uploading your web site to azure, you can open it in a browser.
0x03 Summary
This article briefly records the process of building a website and hosting it on Azure. And this article is my first post in 2020, Happy New Year!