4 Tips for Using Github More Efficiently

This post was first published at Medium
As a programmer who likes GitHub very much, I found these 4 tips in my daily use that can improve my efficiency when using GitHub. This post introduces and demonstrates these 4 tips, I hope they can also help you use GitHub more efficiently.
Tip #1 Search Files In The Repo Quickly And Easily With File Finder
GitHub provides hosting for software development and version control using Git, there are thousands of repositories, projects, and files. Therefore, how to efficiently search for files on GitHub is very important. The first tip is using the shortcut provided by GitHub in a repository to search a file in this repository.

As you can see above, in the runtime repo page and press t on your keyboard then GitHub will activate the file finder. Then you just need to enter the target file name, for example, the ServiceProvider.cs file and the file finder will display the file you want.
Tip #2 Use Search Qualifiers To Search For The Target You Want
Now let’s assume that you have no idea which repository the target file located in or you want to find a certain user in an organization. Then you can use search qualifiers to search for the target you want at any page of GitHub.
**org**:dotnet **filename**:ConfigurationBuilder.cs
and GitHub will display the file you want.
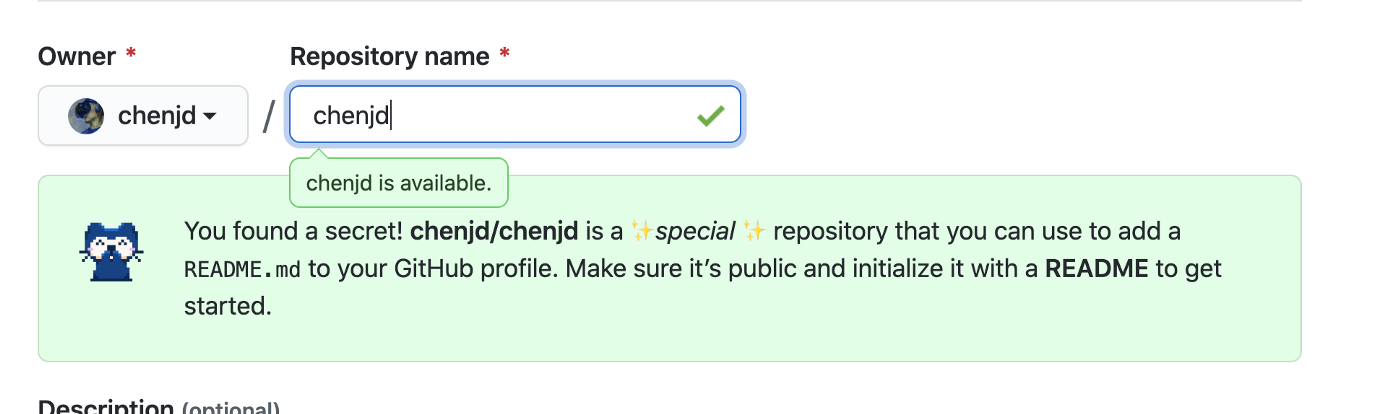
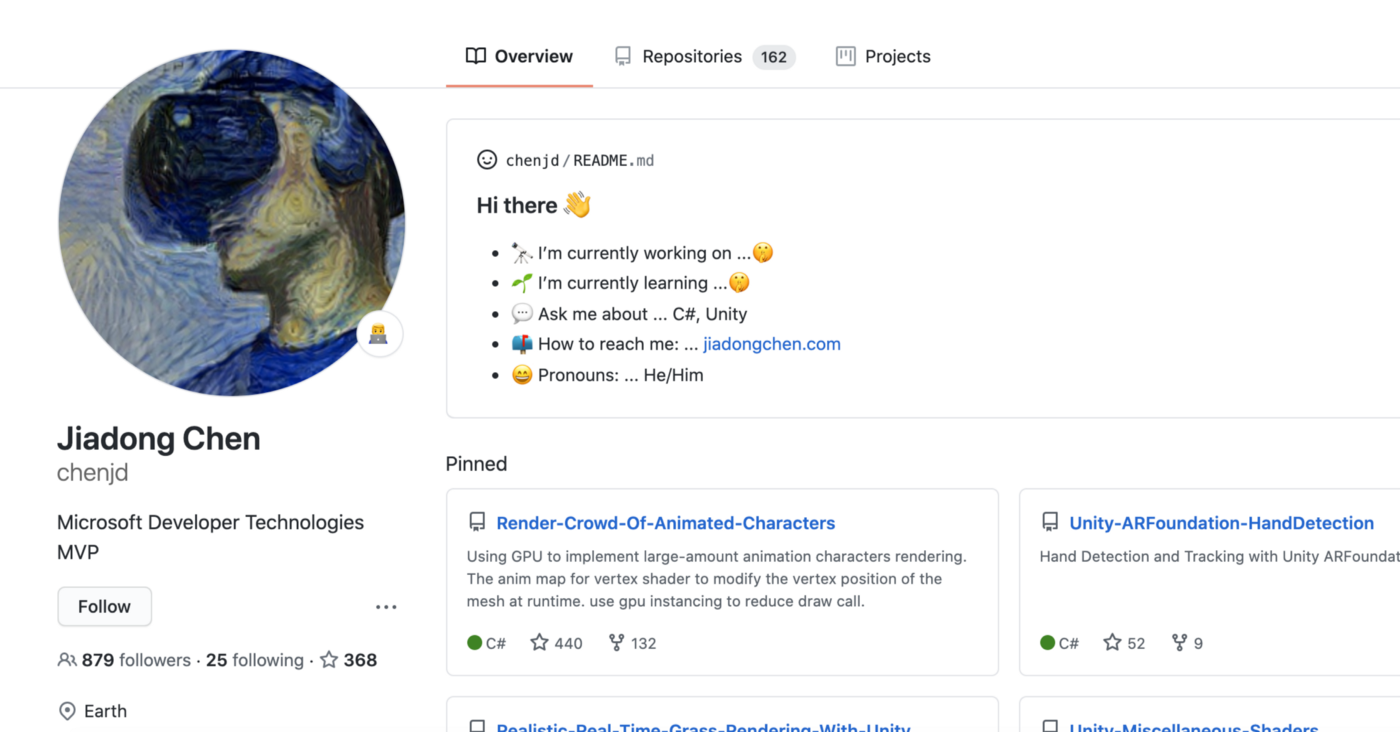
Tip #3 Enable the Read Me on Your Github Profile Page
Yes, it seems that the guy from Github not only redesigned the GitHub UI in June but also added some little secrets. It’s that you can get a profile README on your Github profile page. It’s your own README instead of a project’s README. Interesting!
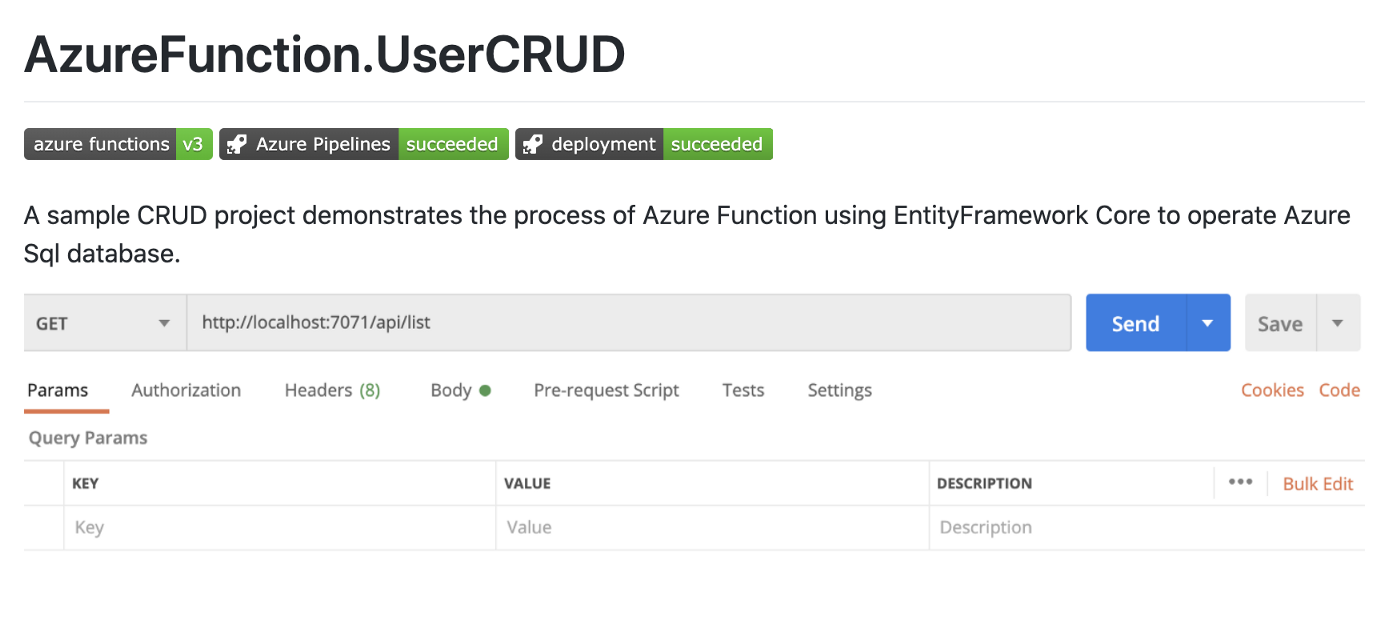
Tip #4 Add The Badges To Your GitHub Repo
Technically, this is not a feature provided by GitHub. But using this little tip can make your GitHub repository page more professional and reflect the current status of your project.
Some communities provide their own badges to the developers, for example, you can get the build/deployment status badges from Azure DevOps showed below. (you can read more about Azure DevOps here)
On the other hand, you can get more general badges from some providers, such as shields.io. shield.io can read the status of your project and generate a corresponding badge. Moreover, you can create your own badges on shield.io.

Thanks for reading and hope it’s helpful.
Have a chat at https://www.linkedin.com/in/chenjd/
References
https://docs.github.com/en/github/getting-started-with-github/keyboard-shortcuts
https://docs.github.com/en/github/searching-for-information-on-github/searching-code